
释放双眼,带上耳机,听听看~!
这个例子等着来自串口接口的一字节输入。当收到时,开发板发送一个键击返回到电脑。这个发送的键击是一个比收到的要高,所以如果你从串口监视器发送一个“a”,你会从开发板上收到一个“b”。一个“1”会返回一个“2”等等。
简介
- 这个例子等着来自串口接口的一字节输入。当收到时,开发板发送一个键击返回到电脑。这个发送的键击是一个比收到的要高,所以如果你从串口监视器发送一个“a”,你会从开发板上收到一个“b”。一个“1”会返回一个“2”等等。
- 注意:当你用 Keyboard.print() 命令时,Arduino会接管你的电脑键盘!为了确保你没有失去对电脑的控制同时运行这个函数,确定在你调用 Keyboard.print()前,启动一个可靠的控制系统。这个程序被设计成只有在一个引脚下拉到地才能发送键盘命令。
硬件要求
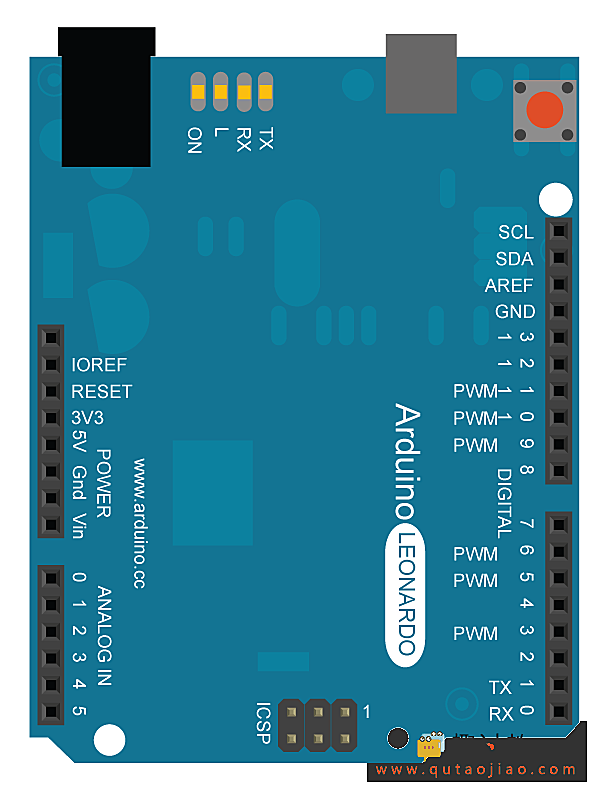
- Arduino Leonardo, Micro, or Due 开发板
电路
- 通过micro-USB线连接你的开发板和你的电脑。
- 一旦编译了,打开你的串口监视器,并且发送一个字节。开发板会返回一个比收到的高的键击。

样例代码
/*
 Keyboard test

 For the Arduino Leonardo, Micro or Due

 Reads a byte from the serial port, sends a keystroke back.
 The sent keystroke is one higher than what's received, e.g.
 if you send a, you get b, send A you get B, and so forth.

 The circuit:
 * none

 created 21 Oct 2011
 modified 27 Mar 2012
 by Tom Igoe

 This example code is in the public domain.

 */

#include "Keyboard.h"

void setup() {
  // open the serial port:
  Serial.begin(9600);
  // initialize control over the keyboard:
  Keyboard.begin();
}

void loop() {
  // check for incoming serial data:
  if (Serial.available() > 0) {
    // read incoming serial data:
    char inChar = Serial.read();
    // Type the next ASCII value from what you received:
    Keyboard.write(inChar + 1);
  }
}

