
释放双眼,带上耳机,听听看~!
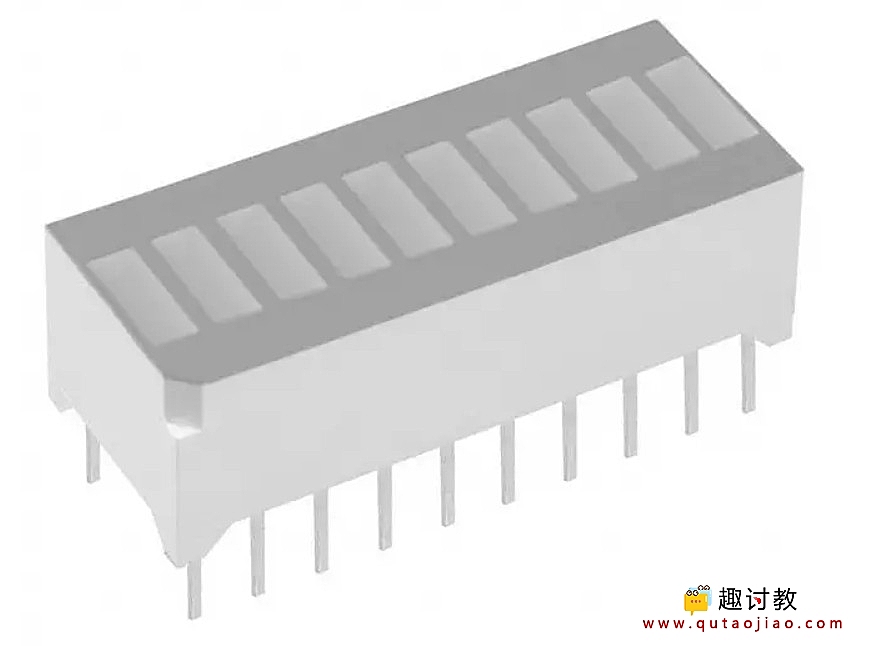
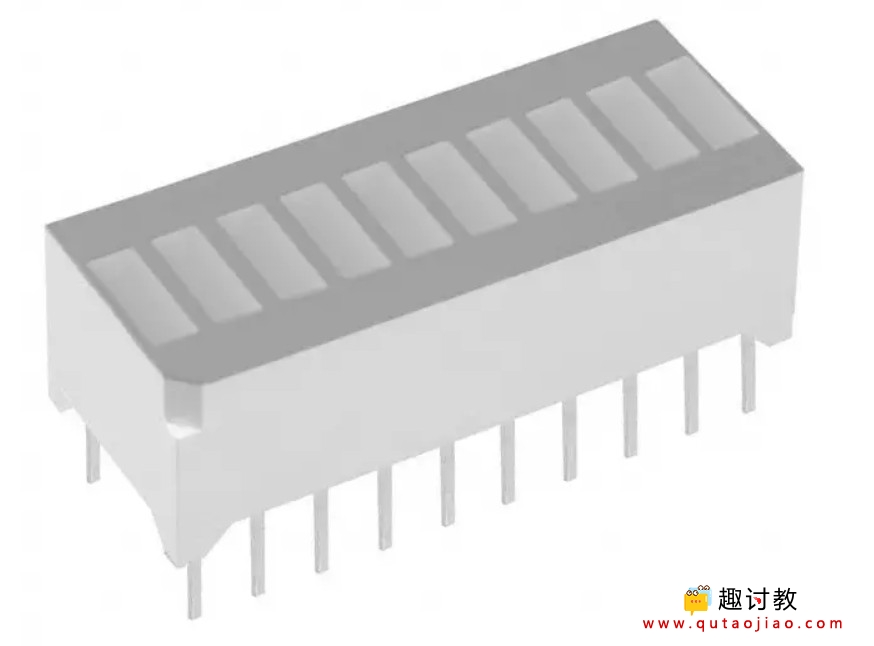
这个条形图(一连串的LED灯在一条线上,就像你在音频显示器上面看到的)是一个用于模拟传感器的共用的硬件显示。它由一行LED灯,一个模拟输入如电位计,和一些代码组成。这个教程示范了怎么控制一行LED灯,而应用到任何数字输出。
简介
- 这个条形图(一连串的LED灯在一条线上,就像你在音频显示器上面看到的)是一个用于模拟传感器的共用的硬件显示。它由一行LED灯,一个模拟输入如电位计,和一些代码组成。这个教程示范了怎么控制一行LED灯,而应用到任何数字输出。
- 这个教程从for循环,数组和模拟输入的教程里借用一些代码
- 条形图显示

硬件要求
- Arduino or Genuino 开发板
- LED 条形图显示 or 10 LEDs
- 电位计
- 10*220Ω 电阻
- 连接线
- 面包板
电路
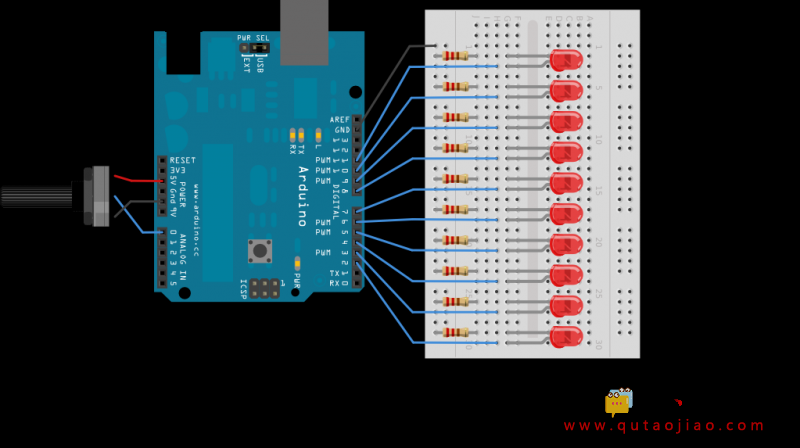
原理图

样例代码
- 程序像这样工作:首先你读取输入。你把输入值匹配到输出的范围,在这里就是10个LED灯。然后你设置一个循环重复这些输出。如果输出的数字比匹配输入范围要低时,打开LED灯。否则,关闭LED灯。
// these constants won't change:
const int analogPin = A0;   // the pin that the potentiometer is attached to
const int ledCount = 10;    // the number of LEDs in the bar graph

int ledPins[] = {
  2, 3, 4, 5, 6, 7, 8, 9, 10, 11
};   // an array of pin numbers to which LEDs are attached


void setup() {
  // loop over the pin array and set them all to output:
  for (int thisLed = 0; thisLed < ledCount; thisLed++) {
    pinMode(ledPins[thisLed], OUTPUT);
  }
}

void loop() {
  // read the potentiometer:
  int sensorReading = analogRead(analogPin);
  // map the result to a range from 0 to the number of LEDs:
  int ledLevel = map(sensorReading, 0, 1023, 0, ledCount);

  // loop over the LED array:
  for (int thisLed = 0; thisLed < ledCount; thisLed++) {
    // if the array element's index is less than ledLevel,
    // turn the pin for this element on:
    if (thisLed < ledLevel) {
      digitalWrite(ledPins[thisLed], HIGH);
    }
    // turn off all pins higher than the ledLevel:
    else {
      digitalWrite(ledPins[thisLed], LOW);
    }
  }
}


