


在本节课程中,您将学习如何在NodeMCU上使用DHT11温湿度传感器。并了解温湿度传感器的工作原理,以及如何通过串口监视器查看传感器读取的数值。
步骤1:准备材料
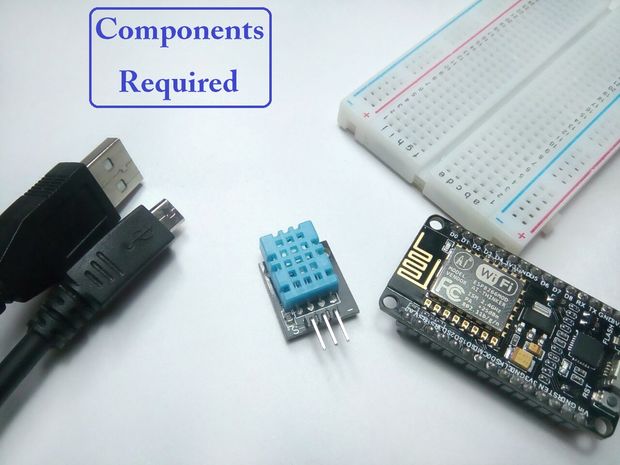
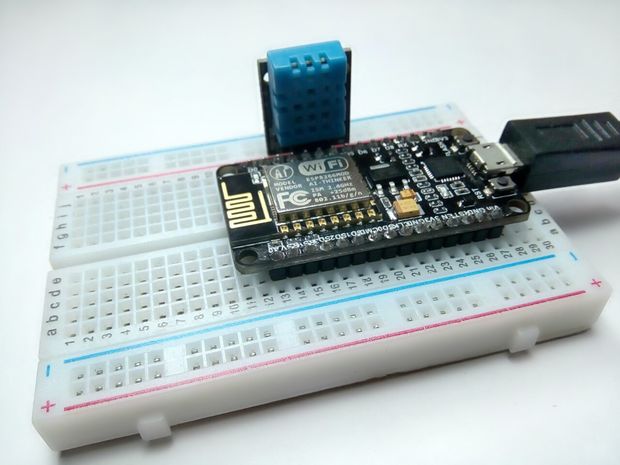
硬件准备
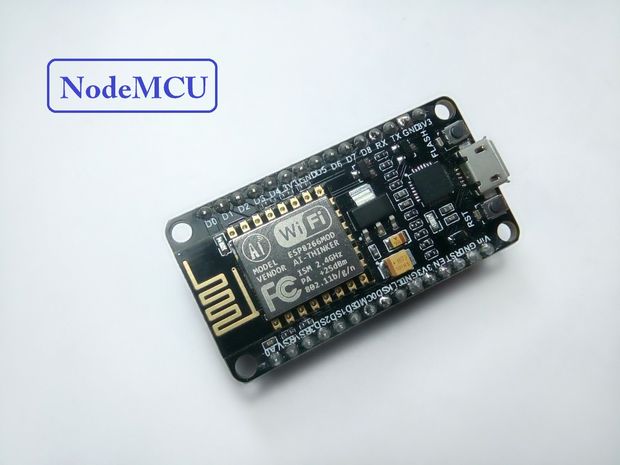
NodeMCU开发板一块
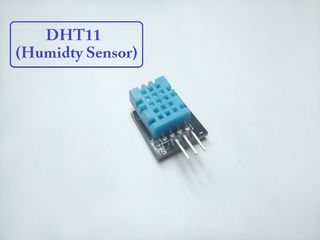
DHT11温湿度传感器一个
面包板一块
跳线(可选)
*USB数据线
软件准备
Arduino IDE(配置好了esp8266开发环境)
步骤2:简单说明


DHT11是通过测量两个电极之间的电阻来检测水蒸汽的。湿度检测部件表面有电极的保湿基板。
当水蒸气被基板吸收时,离子被基板释放,这个过程将会增加电极之间的导电性。
两个电极之间的电阻变化与相对湿度成比例。
较高的相对湿度会降低电极之间的电阻,而较低的相对湿度会增加电极之间的电阻。
步骤3:讲解下两种不同的DHT11
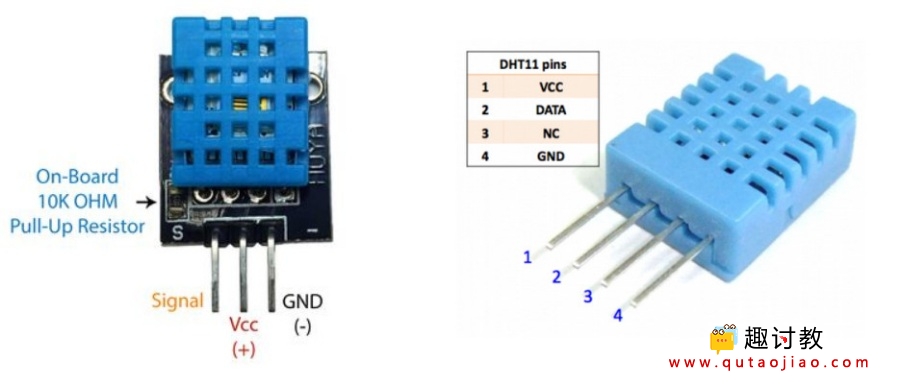
可能你买的DHT11有两种不同的版本:
一种类型有四个引脚。另一种类型有三个引脚,并安装在小PCB上。
PCB安装版本是最好的,所以大家购买时最好选择这种,因为这种包括用于信号线的表面安装的10KΩ上拉电阻。以下是两个版本的引脚。
步骤4:如何在NodeMCU上连接DHT11
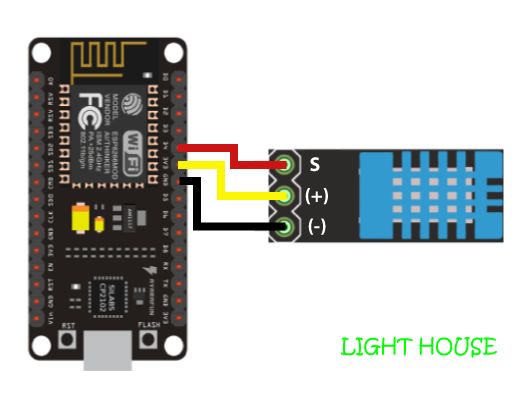
将DHT11连接到NodeMCU是比较简单的,但连接方式有所不同,具体取决于您使用的是3个引脚的传感器还是4个引脚的传感器。
连接方式如下:
DHT11上标有(+或VCC)引脚的连接nodemcu的+ 3V引脚。
DHT11上标有(S或OUT)引脚的连接nodemcu的D4V引脚。
DHT11上标有(-或GND)引脚的连接nodemcu的GND引脚。
步骤5:开始编程

在编程之前,需要安装温湿度传感器的库(DHT sensor library库)。它具有从传感器获取湿度和温度读数所需的全部功能。
安装方式如下:
打开Arduino IDE,然后转到项目> 加载库 > 管理库 > 搜索 DHT sensor library,然后安装就好了。
安装完毕后,就可以开始愉快的编程啦,代码如下,大家参考下,不想自己写的可以直接到最后面下在本课程代码,但是不推荐。
本节课代码如下:
[scu name=”arduino-ide-post” platform=”esp8266:esp8266:nodemcuv2″]
#include "DHT.h"

#define DHTPIN 2     // Digital pin connected to the DHT sensor
// Feather HUZZAH ESP8266 note: use pins 3, 4, 5, 12, 13 or 14 --
// Pin 15 can work but DHT must be disconnected during program upload.

// Uncomment whatever type you're using!
//#define DHTTYPE DHT11   // DHT 11
#define DHTTYPE DHT22   // DHT 22  (AM2302), AM2321
//#define DHTTYPE DHT21   // DHT 21 (AM2301)

// Connect pin 1 (on the left) of the sensor to +5V
// NOTE: If using a board with 3.3V logic like an Arduino Due connect pin 1
// to 3.3V instead of 5V!
// Connect pin 2 of the sensor to whatever your DHTPIN is
// Connect pin 4 (on the right) of the sensor to GROUND
// Connect a 10K resistor from pin 2 (data) to pin 1 (power) of the sensor

// Initialize DHT sensor.
// Note that older versions of this library took an optional third parameter to
// tweak the timings for faster processors.  This parameter is no longer needed
// as the current DHT reading algorithm adjusts itself to work on faster procs.
DHT dht(DHTPIN, DHTTYPE);

void setup() {
  Serial.begin(9600);
  Serial.println(F("DHTxx test!"));

  dht.begin();
}

void loop() {
  // Wait a few seconds between measurements.
  delay(2000);

  // Reading temperature or humidity takes about 250 milliseconds!
  // Sensor readings may also be up to 2 seconds 'old' (its a very slow sensor)
  float h = dht.readHumidity();
  // Read temperature as Celsius (the default)
  float t = dht.readTemperature();
  // Read temperature as Fahrenheit (isFahrenheit = true)
  float f = dht.readTemperature(true);

  // Check if any reads failed and exit early (to try again).
  if (isnan(h) || isnan(t) || isnan(f)) {
    Serial.println(F("Failed to read from DHT sensor!"));
    return;
  }

  // Compute heat index in Fahrenheit (the default)
  float hif = dht.computeHeatIndex(f, h);
  // Compute heat index in Celsius (isFahreheit = false)
  float hic = dht.computeHeatIndex(t, h, false);

  Serial.print(F("Humidity: "));
  Serial.print(h);
  Serial.print(F("%  Temperature: "));
  Serial.print(t);
  Serial.print(F("°C "));
  Serial.print(f);
  Serial.print(F("°F  Heat index: "));
  Serial.print(hic);
  Serial.print(F("°C "));
  Serial.print(hif);
  Serial.println(F("°F"));
}
[/scu]
提示:如果不想使用引脚2作为数据信号,可以更改第3行中的引脚编号(2即为D4引脚,不明白引脚对应关系的看前面有一节课讲过了):“ #define DHT11_PIN 2 ”。
步骤6:输出结果
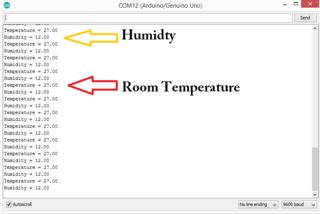
打开串口监视器就可以看到湿度和温度读数以一秒为间隔显示啦。
本节课库文件下载:


你好有什么办法能让数据脱离电脑传输吗
你可以增加一个显示屏,显示到显示屏上面啊!参考:https://www.qutaojiao.com/234.html
或者参考:https://www.qutaojiao.com/238.html
Failed to read from DHT sensor!